Type II Counter Clash (CC2)
A Type II Counter Clash is a die clash variety produced by a fundamentally different mechanism than the Type I counter clash. Where a Type I counter clash is a die-to-die event (the dies clash each other and clash marks transfer back), a Type II counter clash involves a foreign object acting as an intermediary transfer medium. A piece of hard material enters the striking chamber, receives a design impression from one die, and then transfers that impression back to a die face on a subsequent strike. The result is design elements appearing in unexpected positions on the die -- and on every coin struck afterward.
Type II counter clashes are very rare due to the specific conditions required: a piece of foreign material must enter the striking chamber, survive the initial strike, remain in position for a subsequent strike, and transfer a recognizable design impression back to the die.
How Does It Happen?
The Type II counter clash mechanism requires a foreign object to serve as a transfer medium between die strikes:
-
Foreign material enters the striking chamber: A stray piece of hard metal -- a die fragment, collar piece, bolt, washer, or other machine part -- enters the space between the dies. The material must be hard enough to receive and retain a design impression under striking pressure.
-
Initial strike: The die strikes the foreign object, impressing design elements into its surface. The object now carries raised (relief) impressions of whichever die face struck it.
-
Position shift: The foreign object may shift position within the striking chamber between strikes. This is why Type II counter clash marks often appear at unexpected angles or positions relative to the normal design.
-
Secondary strike transfers design back to die: On the next strike, the raised design impressions on the foreign object are driven into the opposing die face (or the same die face if the object flipped or shifted). This creates incuse marks on the die that are derived from the design, but displaced from their normal position.
-
Coins carry the marks: Every coin struck by that die afterward displays the transferred design elements as raised marks in unexpected locations on the coin surface.
The key distinction from Type I: in a Type I counter clash, the transfer medium is the die itself (die → die → die). In a Type II counter clash, the transfer medium is a foreign object (die → foreign object → die). This foreign-object pathway can produce marks at unusual angles -- including 90-degree or 180-degree rotations -- because the debris is not constrained to the fixed orientation of the die pair.
Type I vs. Type II Comparison
| Feature | Type I Counter Clash | Type II Counter Clash |
|---|---|---|
| Transfer medium | Die-to-die (direct) | Foreign object (intermediary) |
| Mechanism | Dies clash, clash marks develop relief, dies clash again | Foreign debris receives impression, transfers it back to die |
| Mark position | Predictable offset from primary clash | Can appear at any angle, including 90 or 180 degrees |
| Prerequisites | Primary clash must occur first | No primary clash required -- only needs foreign debris |
| Mark strength | Faint (second-generation) | Varies -- can be quite visible depending on debris hardness and strike force |
| Rarity | Uncommon | Very rare |
How to Identify a Type II Counter Clash
Type II counter clashes have distinctive characteristics that set them apart from both primary clashes and Type I counter clashes:
- Unexpected position or angle: The transferred design elements appear in locations or at orientations that cannot be explained by a normal die-to-die clash. Design elements rotated 90 degrees from their normal position, for example, strongly suggest a Type II mechanism -- a fixed die pair cannot produce a 90-degree rotation through direct contact.
- Recognizable design elements: Despite the unusual position, the marks are identifiable as specific design elements (lettering, portrait features, design motifs) from the same or opposite die. They are not random marks.
- Consistency across coins: Like all die-stage errors, the marks appear in the same position on every coin struck from the affected die. If the marks are unique to a single coin, it is not a counter clash.
- Field location: The marks generally affect the field areas of the die face, as the raised design elements on the die are too high for the foreign debris to contact.
- No primary clash required: Unlike Type I counter clashes, a Type II does not require evidence of a prior die-to-die clash. The foreign debris pathway is independent of normal die clash events.
Distinguishing from Other Errors
- vs. Strike-through: A strike-through involves foreign material between the die and planchet at the moment of striking, affecting a single coin. A Type II counter clash involves foreign material that transfers a design impression to the die itself, affecting all subsequent coins.
- vs. Die damage: Random die damage (gouges, scratches) produces non-design marks. Type II counter clash marks are recognizable design elements in displaced positions.
- vs. Type I counter clash: Type I marks are faint echoes of the same side's design, in predictable offset positions. Type II marks can appear at unusual angles and do not require a prior clash event.
Notable Examples
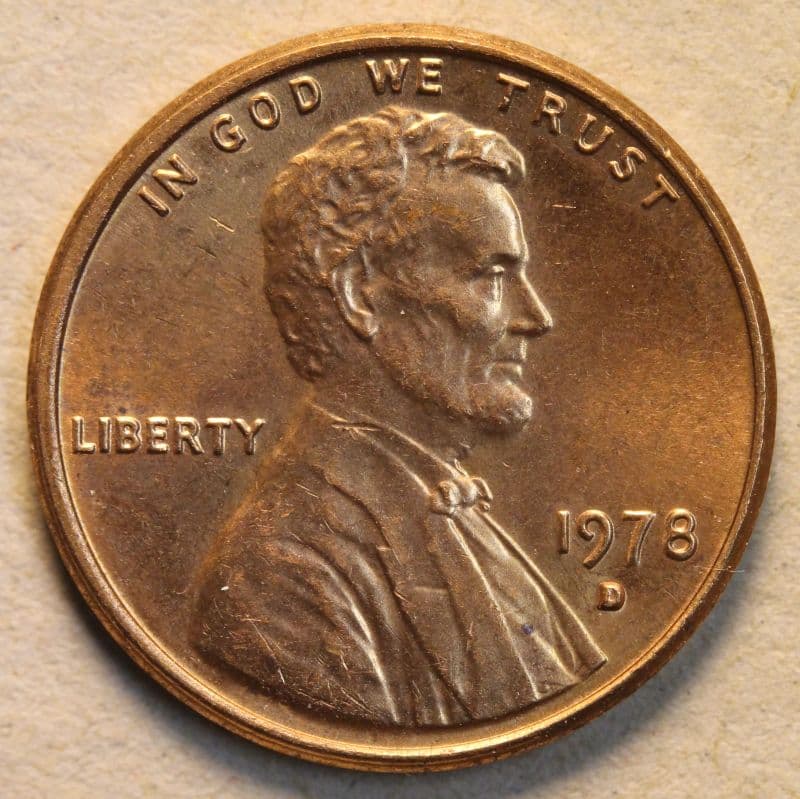
1969-S Lincoln Cent
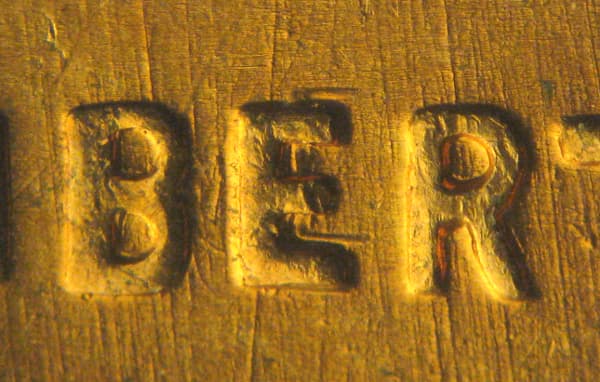
A documented Type II counter clash showing extra text at a 90-degree angle to the normal design orientation. The rotation of the design elements is a strong indicator of the foreign-debris transfer mechanism, as a fixed die pair cannot produce this rotation through direct contact.
1983-1985 Lincoln Cents
Multiple Lincoln cent die pairs from this period exhibit misplaced lettering consistent with the Type II counter clash mechanism. The lettering appears in unexpected positions on the coin, displaced from the normal design layout.
2000-P Sacagawea Dollar
A documented example showing faint letter impressions in positions inconsistent with normal die clash geometry. The Sacagawea dollar's distinctive design elements make the displaced marks identifiable.
1999-P Delaware State Quarter
This example shows "CAESAR RODNEY" text from the reverse design appearing in an unexpected position, consistent with a foreign-object transfer pathway.
Collecting Tips
- Advanced specialty: Type II counter clashes require a solid understanding of normal die clash mechanics and Type I counter clashes. Learn to identify primary clashes and Type I counter clashes fluently before attempting Type II attributions.
- Look for impossible angles: The strongest diagnostic for a Type II counter clash is design elements appearing at angles that a fixed die pair cannot produce through direct contact. A 90-degree rotation of lettering or design features is a hallmark of the foreign-debris mechanism.
- Magnification: Use 10x or higher magnification to examine the marks. While some Type II counter clash marks are visible at lower power (unlike the extremely faint Type I marks), confirming the identity of the transferred design elements requires careful examination.
- CONECA resources: The Combined Organizations of Numismatic Error Collectors of America publishes research on counter clash mechanics and identification. Their periodical, Errorscope, has featured articles on documented Type II examples.
- MadDieClashes.com: An additional reference resource for die clash varieties including counter clash documentation.
- Peer review: Given the rarity and complexity of Type II counter clashes, seek peer review from established die clash researchers before publishing an attribution.
Related Error Types
- Type I Counter Clash (CC1) -- The prerequisite second-generation clash from which Type II clashes derive
- Die Clash (DCL) -- The fundamental clash mechanism underlying all counter clashes
- Typical Die Clash (TYC) -- The primary clash type that initiates the counter clash chain
- Atypical Die Clash (ADC) -- Unusual clash geometry that can complicate counter clash analysis
- Doubled Working Hub Obverse (WHO) -- Hub-stage error that also involves multi-step transfer of design anomalies