Counter Clashes: What Happens When a Die Clash Clashes Back
Type I Counter ClashIf you've read our [Die Clashes: Ghost Images From Empty Strikes] (https://www.numisdex.community/forum/error-die-clashes/die-clashes-ghost-images-from-empty-strikes), you know the basics: two dies strike each other with no coin between them, and ghost images of each side's design transfer to the opposite die. Every coin struck afterward carries faint impressions of the wrong side.
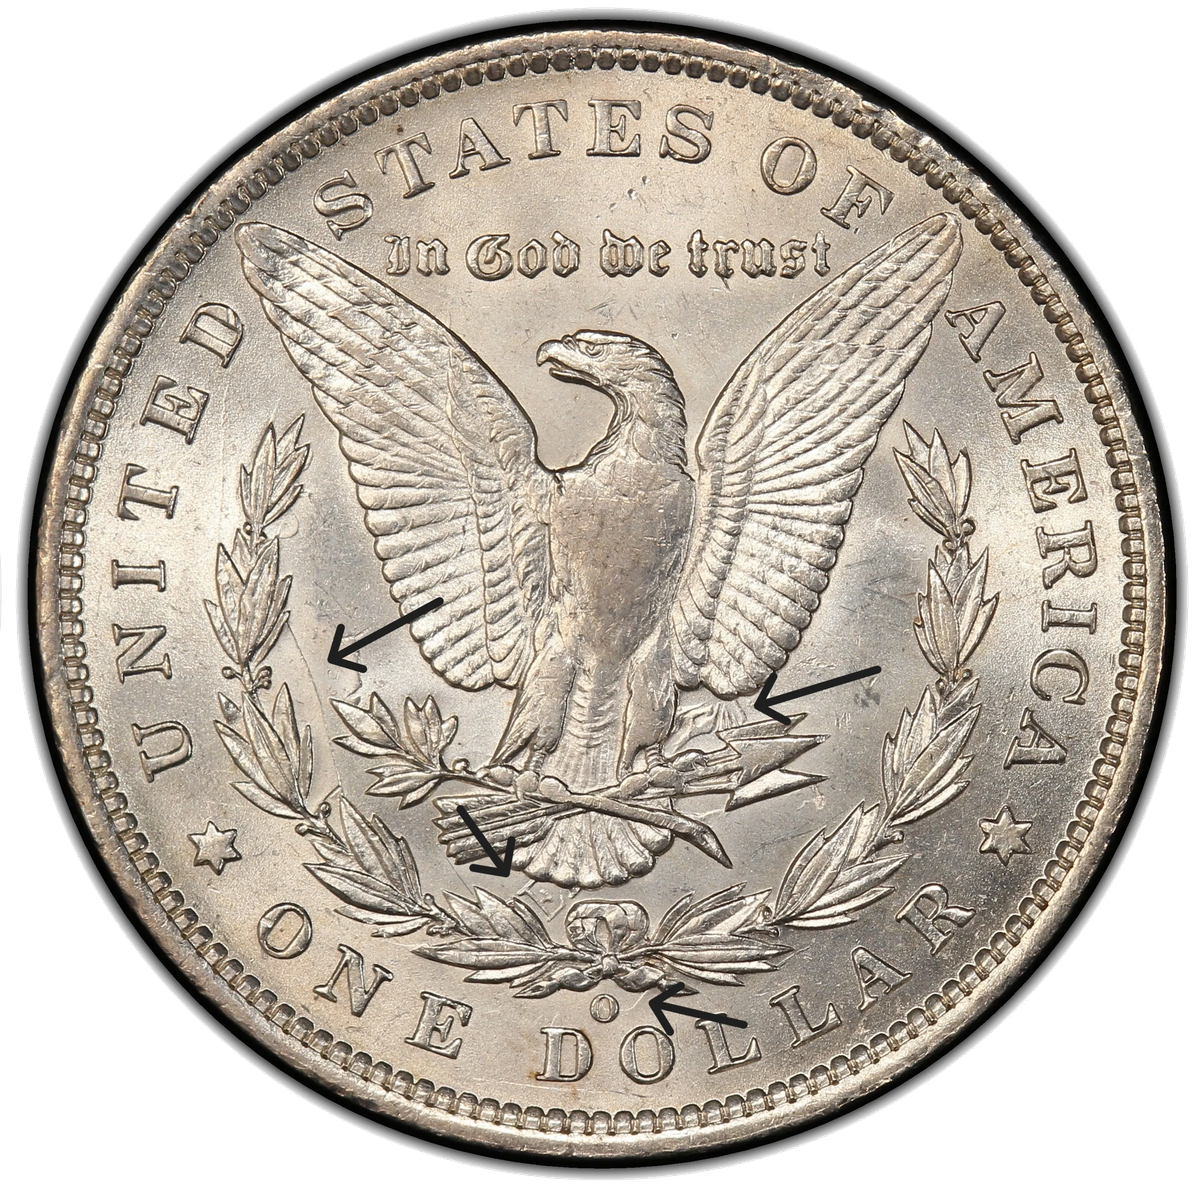
A standard die clash on a Morgan dollar — note the ghost image of Liberty's profile transferred onto the reverse from an empty strike
But what happens when those clash marks themselves become part of the next collision?
That's a counter clash -- one of the most fascinating and least understood errors in numismatics. It's a clash of a clash. A ghost of a ghost. And it's real.
How a Counter Clash Forms
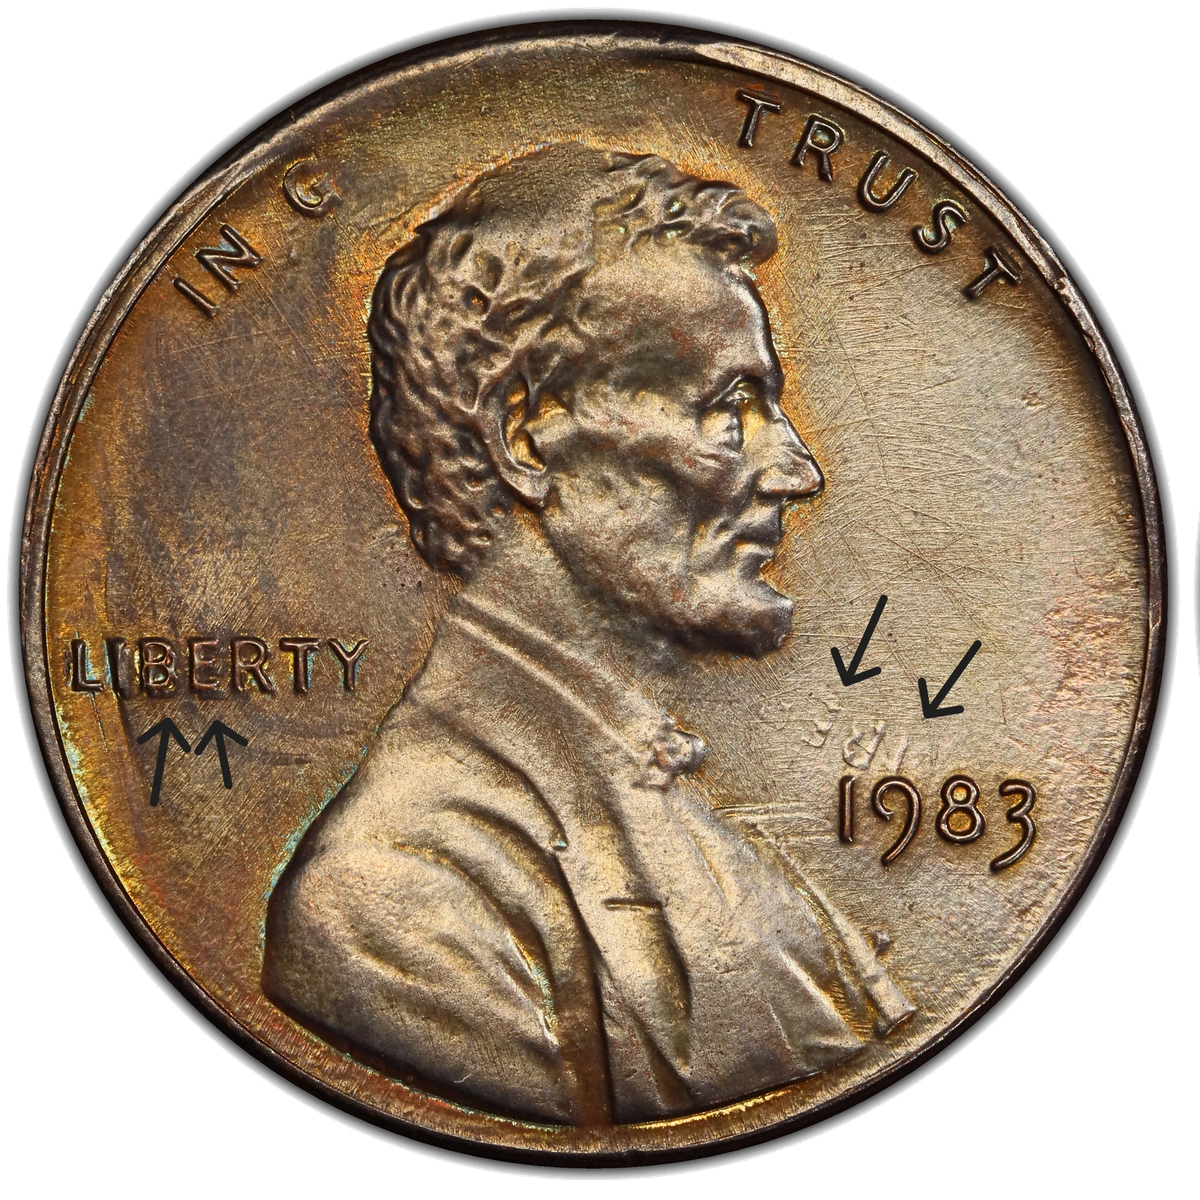
A counter clash — the secondary impression created when clash marks on a struck coin transfer back onto the opposing die
Think of it as a chain of events:
Step 1 -- The primary clash. The obverse and reverse dies strike each other with no planchet between them. Standard die clash. Now the obverse die has incuse (recessed) impressions of the reverse design, and the reverse die has incuse impressions of the obverse design.
Step 2 -- Coins are struck. The clashed dies continue making coins. Each coin has raised clash marks -- the incuse marks on the die produce raised marks on the coin, just like the incuse design on a normal die produces the raised design you see on every coin.
Step 3 -- The clash marks become raised features. Over time, through metal flow, die wear, and incomplete polishing, the incuse clash marks on the die face develop slight relief -- they become raised features on the die surface.
Step 4 -- The dies clash again. A second clash event occurs. This time, the raised clash marks on each die -- which are relief images of the OTHER side's primary clash -- transfer to the opposing die as a new set of incuse marks.
Step 5 -- Counter clash marks appear. Coins struck after the second clash carry these second-generation marks: faint impressions derived not from the opposing die's original design, but from the opposing die's clash marks of the first die's own design.
Here's the mind-bending part: counter clash marks on the obverse are echoes of the obverse's own design, reflected back through the reverse die. The obverse is haunting itself. The same is true on the reverse.
It's like pointing two mirrors at each other and watching the reflections recede into infinity -- except each reflection gets fainter.
Type I vs. Type II: Two Different Mechanisms
This is where counter clashes get interesting -- and where a lot of collectors get confused. Type I and Type II counter clashes are not the same error at different intensity levels. They work through fundamentally different mechanisms.
Type I (CC1): Die-to-Die Transfer
Type I is the "clash of a clash" described above. The dies clash, strike coins, develop raised clash marks through metal flow and wear, then clash again. The counter clash marks are faint echoes of the same side's design, reflected back through the opposing die. They're slightly displaced from the original design position.
Type I counter clashes produce faint, ghostly marks that typically require 10x-30x magnification to see clearly. The marks are always in predictable offset positions because the dies are fixed relative to each other.
Type II (CC2): Foreign Debris Transfer
Type II works through a completely different pathway. Instead of die-to-die transfer, a piece of foreign material -- a die fragment, collar piece, bolt, washer, or other hard machine part -- enters the striking chamber and acts as an intermediary transfer medium.
Here's how it works:
1. Foreign debris enters the striking chamber. A stray piece of hard metal gets between the dies.
2. The die strikes the debris. The design impression transfers onto the foreign object's surface.
3. The debris shifts position. Between strikes, the object may rotate or move within the chamber.
4. A second strike transfers the design back to the die. The raised design impressions on the debris are driven into the die face -- but now at whatever angle the debris landed.
5. Coins carry the marks. Every coin struck afterward shows design elements in unexpected positions.
The critical difference: because the foreign debris can rotate freely, Type II counter clash marks can appear at any angle -- including 90-degree or 180-degree rotations from the normal design. A fixed die pair cannot produce this. When you see design elements rotated 90 degrees on a coin, that's a strong indicator of the Type II foreign-debris mechanism.
Type II counter clashes are very rare because the conditions are so specific: hard debris must enter the chamber, survive a strike, remain in position, and transfer a recognizable impression.
| Feature | Type I Counter Clash | Type II Counter Clash |
|---|---|---|
| Transfer medium | Die-to-die (direct) | Foreign object (intermediary) |
| Mark position | Predictable offset | Any angle, including 90 or 180 degrees |
| Prerequisites | Primary clash must occur first | No primary clash required |
| Mark strength | Faint (second-generation) | Varies -- can be quite visible |
| Rarity | Uncommon | Very rare |
Documented Examples
Counter clashes have been found across multiple series:
Type I examples:
- Morgan dollars (1878-1921): The best-studied series for Type I counter clashes. VAM researchers have cataloged numerous counter clash die pairs, particularly on high-mintage dates like 1878-S, 1879-S, and 1880-S.
- Peace dollars (1921-1935): The high-relief early dates produced deep primary clashes that generated well-defined counter clash impressions.
- Kennedy half dollars and Lincoln cents: Documented across multiple decades.
Type II examples:
- 1969-S Lincoln cent: Extra text appearing at a 90-degree angle to the normal design -- the rotation confirms the foreign-debris pathway.
- 1983-1985 Lincoln cents: Multiple die pairs showing misplaced lettering consistent with the Type II mechanism.
- 2000-P Sacagawea dollar: Faint letter impressions in positions inconsistent with normal die clash geometry.
- 1999-P Delaware State Quarter: "CAESAR RODNEY" text from the reverse appearing in an unexpected position.
Is This for Me?
Counter clashes are one of the more advanced error specialties. You need strong die clash fundamentals and good magnification. But here's why every error collector should at least know about them:
Understanding counter clashes changes how you look at regular die clashes. When you see primary clash marks on a coin, you'll start asking: "Is there a second generation hiding in there?" And when you see design elements at impossible angles -- text rotated 90 degrees, portrait features where they can't physically be from a normal clash -- you'll know to consider the Type II foreign-debris mechanism.
If you want to go deeper:
- Master primary die clashes first. You need to recognize typical, atypical, and floating clashes fluently before counter clash work makes sense.
- Study the VAM reference for Morgan dollars for Type I examples.
- Check CONECA (Combined Organizations of Numismatic Error Collectors of America) and MadDieClashes.com for research on both types.
Learn more about counter clashes and the full die clash family on NumisDex:
- [Type I Counter Clash (CC1)](/learn/die-clash-family/type-i-counter-clash)
- [Type II Counter Clash (CC2)](/learn/die-clash-family/type-ii-counter-clash)
- [Die Clash (DCL)](/learn/die-clash-family/die-clash)
---
0 Replies
Related Threads
- Die Clash Overlays for Flying Eagle Cents: Mule Die Clashes (1856–1858)0 replies · 2d ago
- Die Clash Overlays for Large Cents: All Design Types (1793–1857)0 replies · 6d ago
- Die Clash Overlays for Half Cents: All Design Types (1793–1857)0 replies · 1mo ago
- Die Clashes: Ghost Images From Empty Strikes0 replies · 2mo ago