What Is a Die Clash? One of the Most Common and Most Misunderstood Mint Errors
Die ClashMost coins you've held were struck by two dies -- one for the obverse, one for the reverse -- slamming together at 35 to 150 tons of force. Now imagine what happens when the machine fires... but no coin blank is between them.
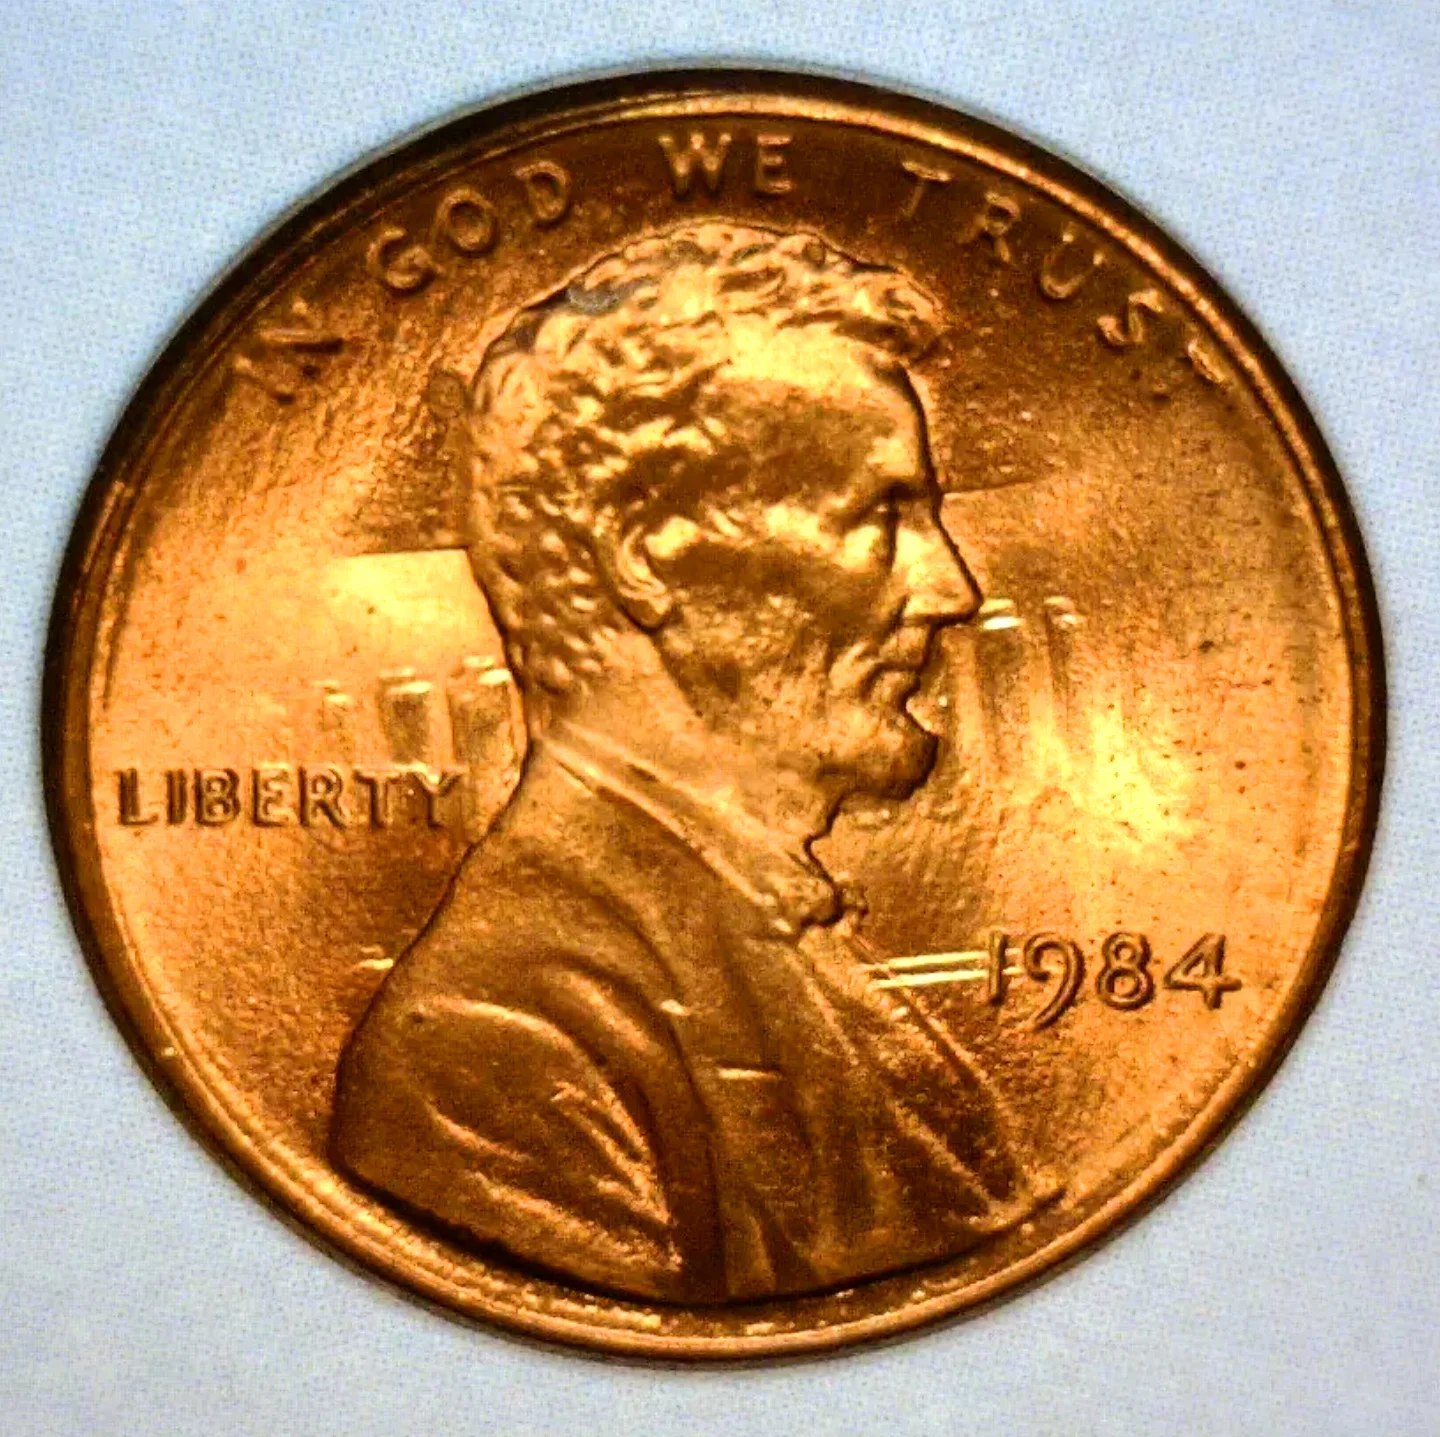
A die clash in action — ghost design elements from the reverse die appear as faint impressions on the obverse, transferred when the dies struck each other with no planchet between them
That's a die clash.
How it happens: Modern coin presses strike 750 to 850 coins per minute. When the feed mechanism fails to deliver a planchet between strikes, the dies slam directly into each other. The raised design on each die gets driven into the face of the opposite die, leaving incuse (recessed) impressions. Every coin struck by those dies afterward carries faint, ghost-like images of the wrong side's design superimposed on its own surface.
What to look for:
- Ghost images of the opposite side's design in the coin's open fields
- On Lincoln cents: look for faint Lincoln Memorial columns behind Lincoln's head, or traces of Lincoln's profile on the reverse
- On Morgan dollars: eagle wing tips and tail feathers appearing around Liberty's portrait
- The marks appear in the same position on every coin struck from that die pair -- that's how you know it's a die clash and not post-mint damage
Why collectors love them: Die clashes are one of the most accessible error types for new collectors. They're common enough to be affordable on Lincoln cents and Jefferson nickels, but strong, dramatic clashes with bold design transfer can command serious premiums. The key is clash strength -- coins struck immediately after the clash event, before the Mint polished the die, show the boldest marks.
Did you know? Die clashes aren't just one error type -- they're an entire family. NumisDex catalogs eight distinct varieties:
- Typical Die Clash -- Standard clash with normal die alignment
- Atypical Die Clash -- Clash with unusual die tilt or rotation
- Floating Die Clash -- Marks displaced from expected positions
- Radical MAD Die Clash -- Extreme displacement of 6mm or more
- Mule Die Clash -- Clash between dies never meant to be paired
- Type I Counter Clash -- A "clash of a clash" (secondary transfer)
- Type II Counter Clash -- Multi-generation transfer requiring microscopy
- Collar Clash -- Die rim contacts the collar, leaving serration marks
Learn more: Explore our complete die clash guide with identification tips, notable examples, and collecting advice: https://www.numisdex.community/learn/die-clash-family/die-clash
Next time you're sorting through a roll of coins, grab a magnifying glass and check the fields. You might be holding a die clash and not even know it.
0 Replies
Related Threads
- Vending Machine, Counting Machine, and Crimper Damage on Coins0 replies · 1mo ago
- PMD Vocabulary: Scratches, Gouges, and Damage Every Collector Should Recognize0 replies · 1mo ago
- My Coin Looks Melted or Blobby — Die Error or Acid Damage?0 replies · 1mo ago
- Tall Rim or Thick Edge on Your Coin: Mint Error or Post-Mint Damage?0 replies · 1mo ago
- Mint Error vs. Post-Mint Damage: 5 Questions to Ask Before You Get Excited0 replies · 1mo ago